How to extract audio from a video without uploading it
Extracting audio means saving the sound track already inside a video as a separate file. It is useful for interviews, lectures, voice notes, podcast editing, accessibility work, and any recording whose pictures are no longer needed. CaptionKite performs the conversion in your browser, so a local source file does not have to be uploaded before you can download the audio.
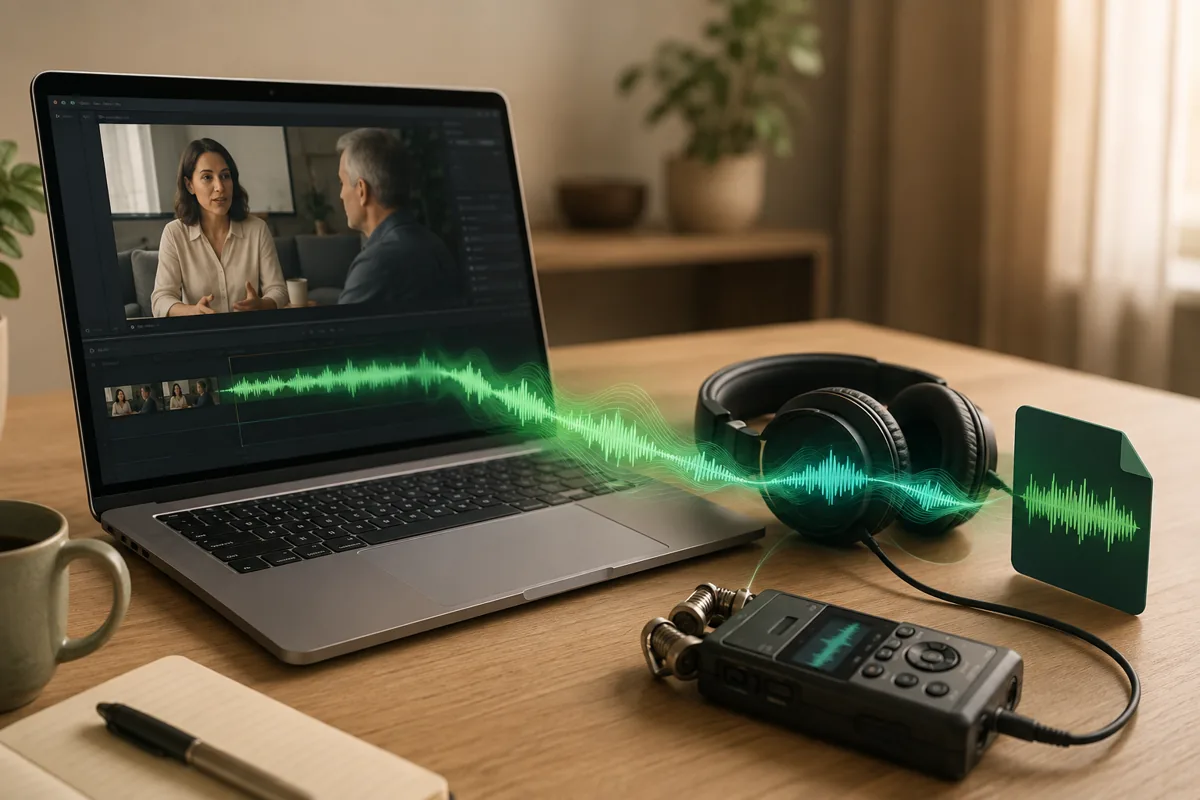
First decide what the audio is for
The right output depends on what happens next. Someone who only needs to listen to a recorded explanation wants a compact, widely compatible file. An editor who will remove noise, rearrange sentences, or mix music needs more headroom and may accept a much larger download. A transcription workflow only needs speech to remain clear.
Choose MP3 for the safest compatibility across phones, computers, messaging apps, and simple audio players.
Choose M4A when modern-device compatibility is acceptable and keeping the file smaller matters.
Choose WAV when you need uncompressed audio and have enough storage for a much larger file.
Extraction does not improve a poor recording. It removes the picture and converts the audio; background noise, clipping, echo, and missing words remain part of the source.
1. Prepare the best source video
Use the original video or the highest-quality authorized copy you have. Repeated downloads, screen recordings, and social-media exports may already contain heavily compressed sound. Another conversion cannot restore detail that was discarded earlier.
- Play the beginning, middle, and end to confirm that the file and its audio track are intact.
- Check that the recording contains the language, speakers, and section you expect.
- Keep the original until the extracted file has been reviewed and delivered.
- If you need only one part, use the video trimmer first so you do not encode a long unused introduction or ending.
- Use only media you own or are authorized to process; changing the format does not change copyright or access rights.
A familiar extension does not describe everything inside the file. MP4, MOV, WebM, and MKV are containers that can hold different audio codecs. Browser support therefore depends on the tracks inside as well as the filename.
2. Extract the audio in CaptionKite
- Open the video-to-audio tool.
- Drop the local video into the selection area or choose it with the file picker.
- Wait for the ready state, which confirms that the browser has accepted the file.
- Select MP3, M4A, or WAV.
- For MP3 or M4A, choose Smaller file, Balanced, or Best quality.
- Select Extract audio and keep the page open while the browser works.
- Download the result when processing finishes.
The video is read from your device and the output is encoded in the page. There is no media upload to CaptionKite and no server queue. The tradeoff is that your device supplies the memory and processing time, so a long recording takes longer on a modest computer.
3. Choose between MP3, M4A, and WAV
| Format | Best fit | Main tradeoff |
|---|---|---|
| MP3 | Everyday playback, email, simple publishing, and broad compatibility | Lossy compression removes some audio detail |
| M4A | Long interviews, podcasts, and modern phones or computers | Older or specialized software may prefer MP3 or WAV |
| WAV | Editing, cleanup, or a high-quality working file | Uncompressed output is dramatically larger |
MP3 is the practical default when the recipient and software are unknown. M4A can preserve similar perceived quality in less space, but compatibility should be checked before delivery. WAV stores samples without perceptual compression, which avoids another lossy encoding pass but does not make the source better than it was.
Modern media support varies by browser and operating system. The MDN audio codec guide explains why a codec and its container must be considered together.
4. Pick a quality setting without guessing
For spoken voice, Balanced is a sensible starting point. Speech does not normally need the same data rate as dense music, and a smaller file is easier to store, send, and transcribe. Listen with headphones before assuming the highest setting is necessary.
Choose Best quality when the source contains music, subtle ambience, several overlapping voices, or material that will be edited again. Choose Smaller file for an informal voice memo or a very long recording when transfer size matters more than fine detail. If a low setting creates watery consonants, dull cymbals, or unstable background sound, repeat the conversion one step higher.
If the original waveform was recorded too loudly and distorted, a higher output setting faithfully preserves that distortion. Noise reduction, equalization, and repair require an audio editor and careful listening.
Understand why the file size changes
Compressed audio size is driven mainly by duration and bitrate. A one-hour MP3 at the same settings is roughly six times the size of a ten-minute MP3. The resolution of the video does not directly make the extracted audio larger; a 4K picture and a 720p picture may contain the same audio track.
WAV behaves differently because it stores uncompressed samples. Stereo CD-style audio is roughly 10 MB per minute, so an hour can approach 600 MB. That size is expected. If the destination is email or a phone, WAV is usually the wrong delivery format even when it is a useful editing format.
Do not ZIP an MP3 or M4A and expect a dramatic reduction. Those formats are already compressed. Shortening the recording or choosing a lower audio quality has a much more predictable effect.
5. Review the extracted file
Do not judge a conversion only by the presence of a download. Open the new file in the player the recipient is likely to use and make three checks:
- Listen to the first thirty seconds for a clean start and the expected speaker.
- Jump near the middle to confirm the file is not silent or truncated.
- Listen to the ending and compare the duration with the source.
Use headphones for speech that will be transcribed or published. Check left and right channels if the recording used separate microphones. Give the file a descriptive name such as interview-audio-reviewed.mp3, without putting confidential details into a filename that may appear in messages, download histories, or shared folders.
What to do with the audio next
An extracted track can reduce the workload for several common tasks. A lecture or meeting becomes easier to listen to while walking. A video interview can enter a podcast editor without carrying an unnecessary picture track. A large recording can be transcribed from a smaller audio-only file, which may use less browser memory.
If the goal is written words, return to the caption and transcript tool and choose the extracted audio. If the goal is a shorter quote, trim the video before extraction or edit the audio in a dedicated editor afterward. If the visual demonstration carries meaning, keep the video and create captions instead; audio alone cannot preserve slides, gestures, product steps, or on-screen evidence.
Local conversion changes the privacy boundary
With a local file, CaptionKite performs the extraction on your device. That avoids sending the source recording to a conversion server, but it does not make every later action private. Uploading the MP3 to a podcast host, pasting it into another transcription service, attaching it to an email, or saving it in synchronized storage creates new copies under those services' rules.
Treat the output according to the sensitivity of the source. Store confidential interviews in an approved location, remove temporary exports when the work is complete, and verify recipients before sharing. Audio can be more revealing than its smaller size suggests: voices, names, addresses, and private conversation remain intact after the picture is removed.
If the video will not open or the conversion fails
First play the source in another local application. If it fails there too, the file may be incomplete or damaged. If it plays but CaptionKite cannot decode it, try a current version of Chrome or Edge and consult the browser media format guide. An MP4 extension alone does not guarantee that its internal audio codec is available to the browser.
Close memory-heavy tabs before processing a long file, keep the computer awake, and avoid running several conversions at once. If MP3 is unavailable, choose M4A or WAV or try another supported browser. Record the exact error before retrying; the video troubleshooting guide explains how to separate a file problem from a browser or transfer problem.
A dependable audio-extraction checklist
- Confirm that you may process and share the recording.
- Use the best available source and play it before conversion.
- Trim unused time when only one section is needed.
- Choose MP3 for broad delivery, M4A for efficient modern playback, or WAV for editing.
- Start at Balanced quality for speech and raise it only when listening reveals a reason.
- Keep the page open and the device awake during processing.
- Check the beginning, middle, ending, duration, and channel balance.
- Keep the original until the output has been accepted.
- Protect the smaller audio file with the same care as the original video.