How to create an SRT file from a video
An SRT file pairs each spoken caption with a start and end time. You can create one without uploading the video, then use it on most video platforms and in many editing applications.
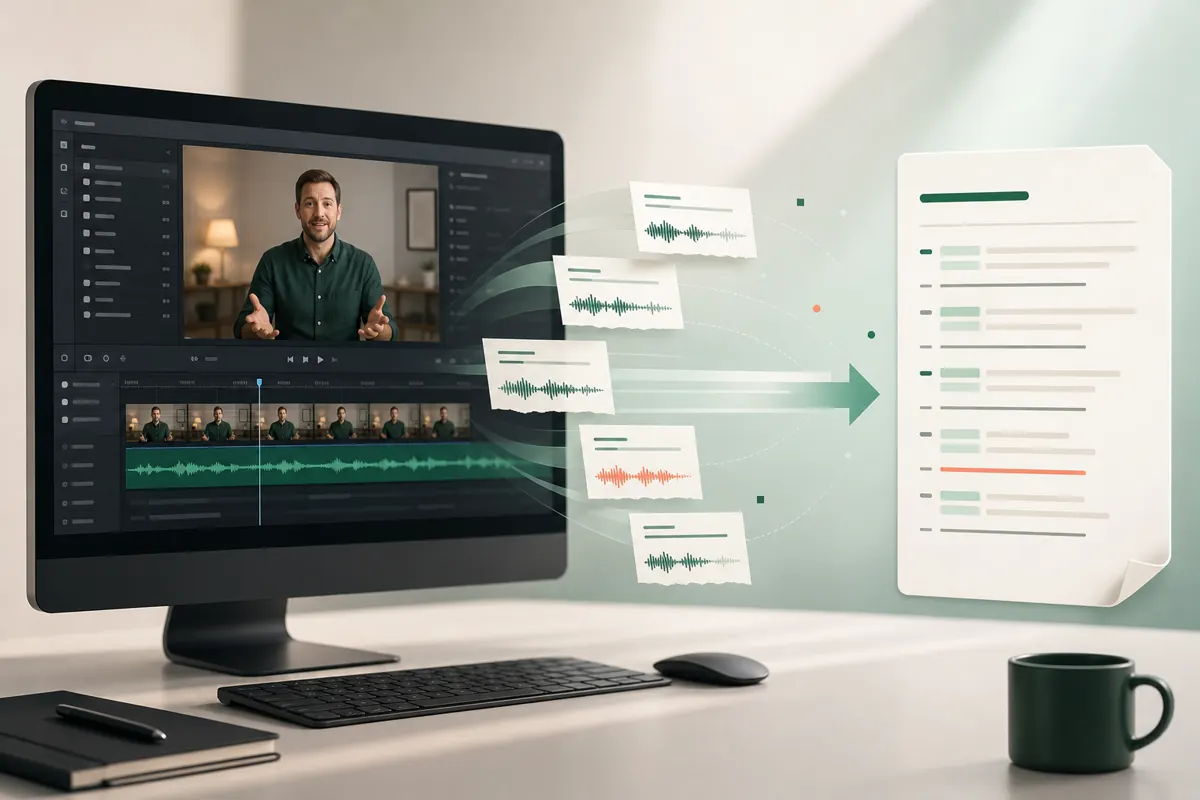
Before you start
Use the clearest copy of the video you have. Loud music, overlapping speakers, room echo, and very quiet dialogue all make automatic transcription less accurate. If you only need captions, video resolution has little effect; audio clarity matters far more.
2 GB and two hours are technical ceilings, not a promise that every device can process a file that large. Long recordings need substantial browser memory. Chrome or Edge generally offers the broadest media and browser-AI compatibility.
1. Generate the first transcript
- Open the CaptionKite caption tool and choose Upload a file.
- Select your video or audio file, choose the spoken language, and start transcription.
- Leave the tab open while the model processes the audio. The first visit takes longer because the browser must download the speech model.
- When processing finishes, read through the transcript before downloading it.
The media is decoded and transcribed in your browser. The file itself is not sent to CaptionKite's servers.
2. Review words and timing
Automatic captions are a strong first draft, not a substitute for review. Check names, product terms, numbers, acronyms, and sentences spoken over noise. Read each caption while listening to the matching section of video.
- Break long thoughts at natural pauses.
- Avoid leaving a single short word on its own line.
- Keep enough on-screen time for a viewer to read comfortably.
- Preserve the speaker's meaning instead of rewriting their message.
3. Download and test the SRT
Choose Download SRT. Keep the .srt extension and, when a platform expects matching names, give the video and caption files the same base filename—for example, interview.mp4 and interview.srt.
Upload both files to your destination and preview the complete video. Confirm the first caption begins correctly, later captions have not drifted, and the final caption ends on time.
What is inside an SRT file?
1
00:00:02,400 --> 00:00:05,100
Welcome to this short tutorial.

2
00:00:05,700 --> 00:00:08,200
Today we will create captions.
Each block contains a sequence number, a time range, and caption text. A blank line separates blocks. If you edit an SRT manually, keep that structure intact and save it as UTF-8 text.
What to do next
If your destination asks for WebVTT instead, CaptionKite can export that too. Read SRT vs. VTT before choosing, or continue with the guide to adding captions to an MP4.
Most caption quality is decided before you press Generate
Speech recognition is only as good as what it can hear, and no amount of editing afterwards recovers a word that was never audible.
The things that hurt most are background music under dialogue, two people talking over each other, and a room with hard walls and no soft furnishings. Resolution is irrelevant — a 4K video of a bad recording transcribes exactly as badly as a 480p one.
If you have any choice in the matter, use the cleanest audio you have rather than the finished edit. A separate microphone track, or the audio before music was laid under it, will beat the mixed export every time. And if the recording is already made and the sound is poor, budget for correction time rather than expecting the model to guess well.
Edit for reading, not just for accuracy
A transcript can be word-perfect and still make a bad caption file, because reading is not listening. People read a caption in a glance while also watching the picture.
Two things matter more than anything else. Keep lines short enough to take in at once — roughly forty characters is the usual working limit, which is much less than it sounds. And leave a caption on screen long enough to actually read: a line that appears and vanishes in half a second is worse than no caption, because the viewer knows they missed something.
You can also cut filler without being unfaithful. Every “um”, false start and repeated word does not need to survive. What must survive is meaning, including the hesitations that carry it — someone pausing before answering is information, and flattening that out changes what was said.
Review in passes, one thing at a time
Trying to check spelling, timing, speaker labels and line breaks in a single read-through is how mistakes get through. Each pass should look for one kind of problem.
- Names and terms. Search for each proper noun once and fix every instance together. This is where recognition fails most predictably and where errors embarrass you most.
- Numbers. Prices, dates, percentages, version numbers. Easy to mishear, easy to check, disproportionately damaging when wrong.
- Timing. Play the video with captions on and watch for lines arriving late or lingering.
Do the text passes in the editor and the timing pass against the picture. They need different attention, and doing them together means doing both badly.
Deciding when it is finished
Perfect is not the standard, and chasing it wastes time that would be better spent on the next video. But “mostly right” is not a standard either, so it helps to name one.
A reasonable bar: every proper noun and number correct, no line so long it wraps awkwardly, nothing on screen for under a second, and no caption that changes the meaning of what was said. Filler words and minor phrasing can stay imperfect.
The exception is anything where accuracy is not a courtesy but a requirement — legal, medical, financial, safety, or a video someone will rely on to make a decision. There, an automatic transcript is a first draft and a person needs to check every line against the audio. That is not a limitation of this tool in particular; it is true of every automatic system.